Showing posts with label back to school. Show all posts

Sunday, June 7, 2015

Calendar Time (Part 2)

Here is the rest of our calendar routine! If you missed part one, you can find it here :)

Next up, days in school!
A new student helper comes up and adds a stick to the one's place. (As you can see, my fabulous matching sticks that came with the calendar have slowly disappeared and are now replaced with popsicle sticks.) We all count the sticks to see how many days we have been in school (starting with 100) and then change the number at the bottom so that it matches our sticks.

While students are still working on number ID, I like to hand the student leading "days in school" several different numbers so they can show them to the class and the class can "help" him/her find the correct number. It sounds a little something like this:

Student: "Is this number 8?"
Class: "No! That is number 4!"
Student: "Is this number 8?"
Class: "No! That is number 9!"
Student: "Is this number 8?"
Class: "Yes! That is number 8!"

After days in school comes tally marks! The tally marks match how many days we have been in school.
I always start the year leading and modeling the calendar for my students and then gradually release one part of the calendar at a time over to the students for them to lead. You can probably look at the tally mark chart and guess when students began to take over that section. It's not perfect but it sure is authentic! ;)

The student who leads this section of the calendar first points to each group of tallies as we count the tally marks we already have by 5's. Then, the student says our "tally mark chant"and adds another tally to the chart.

To remember when to make a vertical line and when to cross the 4 vertical lines with a diagonal line (and yes, even the students use the words vertical and diagonal. Parents can't believe their 4 and 5 year olds actually know what those words mean but we start using the vocab in context on day 1!) we say this cute little poem and do hand motions to go with it.

One, Two, Three, Four, (move hands up and down vertically for each number)
Number Five Shuts the Door! (Move hands across the body diagonally)
Six, Seven, Eight, Nine, (move hands up and down vertically for each number)
Number Ten Draws a Line! (Move hands across the body diagonally)

I cannot begin to tell you how much I love this rhyme! It really has help my students draw tally marks.

If you would like to download a free printable of the chant for your own calendar, just click the picture below :)


Up until the 100th day of school, we add an apple to fill in our giant 100's chart. I have made enough numbers to take us through the last day of school because I used to use these little apples as one looooong number line, but this year I use them as a 100's chart. I created the apples so that all of the odd numbers are blue apples, the evens are green, the 5's have a purple circle, and the 10's have a pink background. This really helps the kids not only see number patterns but also count by 2's, 5's, and 10's!
 If you would like to snag these numbers for yourself, you can find them here.

For the weather, we use this cute freebie found here. (There are several other options for types of weather in the freebie but where we live, these 4 pretty much have us covered!)
And sing this weather song:

What is the weather, weather, weather?
What could the weather be today?
Is it sunny, sunny, sunny? (raise arms above head to make a big circle)
S-U-N-N-Y today!
Is it cloudy, cloudy, cloudy? (move hands like you're forming a big fluffy cloud)
C-L-O-U-D-Y today!
Is it rainy, rainy, rainy? (wiggle fingers down in front of you like rain falling)
R-A-I-N-Y today!
Is it windy, windy, windy? (move arms like your hula dancing)
W-I-N-D-Y today!
What could the weather, weather, weather,
What could the weather be today?

We also discuss how a thermometer measures temperature. When the temperature is warmer, the red liquid inside the thermometer goes up and when it is cooler the temperature goes down. As the year progresses I also show them a real thermometer and we begin to check it for degrees fahrenheit.

Finally we work on positional words! Since we are the Amazing Ants, naturally we practice this with an ant and a picnic basket ;)
The ant is thumbtacked to the board and we move it all around the picnic basket practicing our positional words. For example, I may move it above the picnic basket, far from the picnic basket, inside the picnic basket, etc. This is also useful when we are talking about antonyms or opposites. For example, "The ant is inside the picnic basket. What would be the opposite of inside?" I also teach them synonyms for positional words like under or below, beside or next to.

By the 2nd semester I have pretty much phased this part of the calendar routine out because the students all have a good understanding of positional words. Every now and then I will throw it back into our routine for review though.

I hope my calendar routine breakdown has been helpful! :)

Saturday, March 21, 2015

Calendar Time! (part 1)

When I have visitors in my classroom, I usually get several questions about our calendar routine so I wanted to do a little break down of my routine and share it with all of you! 

During calendar time, we cover MANY different skills. So many that when I started to type the entire routine, it made for one loooooooong post! Because of this, I broke it up into two different posts. So without further ado, here is part one of two of our calendar routine.

Here is a look at our "calendar area"

It may seem like a lot, but once we get into the routine, calendar time seriously only takes about 10 minutes and is completely student lead! 

First we begin with the days of the week.

A student comes up and points to each day of the week as we sing "The Days of the Week Song" to the tune of the Adams Family. 

Then we practice the skill of passing time by identifying yesterday, today, and tomorrow. We sing a song about yesterday, today, and tomorrow to the tune of Frere Jacques that goes like this:

Today is (insert day)
All day long 
All day long 
Yesterday was (insert day)
Tomorrow will be (insert day)
Let's have fun!
Let's have fun!

After I have taught alliteration, we usually practice the skill by having 2 or 3 students come up with a word that has the same beginning sound as the day of the week. (Friday, fish, football)

Next, we move on to the months of the year. I have my months on these little cupcakes. 
I usually have paper candles with students' names and the date of their birthday on the cupcake with their birth month. Then, I take down their candle and add it to the calendar in the pocket with their birthday. Somehow I totally forgot about the candles until around December this year (whoops) so we just added birthdays to the calendar as they came!

Aaaanyway, back to the calendar routine! Another students comes up and points to the months of the year as we all stand up and do the "Months of the Year Macarena"  

We then name the month that we are in and practice counting how many syllables are in the name of the month.

After that, another student volunteer comes up and leads the class by identifying the pattern on the calendar and extending the pattern to find today's date.


I usually try to find or make calendar pieces that go along with our theme. I also start the school year with a simple AB pattern and then make the patterns increasingly more difficult as the year goes.

The students will identify the pattern by shape (UFO, astronaut, astronaut, rocket), Letter (ABBC), and then number (starting at 1 and ending at the date). Using that information, they extend the pattern by predicting what comes next and adding that piece to the calendar.

After we have our date, another student comes up and updates the 10 frames so that they match our date.


As the year progresses, we use the 10 frame to practice different skills such as subitizing, counting by 10's, and figuring out how many more days until 10, 20, or 30.

If you are interested, here is a link to some free printables I created that you can include in your own calendar routine. Just click on the picture below :)


We also count days in school, practice place value, number ID, tally marks, counting by 2's, 5's, 10's, weather, and positional words! Want to see more? Click here for part 2!

Monday, July 28, 2014

Dallas trip and Monday Made It

This past weekend was SO. MUCH. FUN! 

My mother in law got married on Friday so the Hubs and I went up to Dallas for the ceremony and to spend some QT with family! 

Here is my handsome husband and I killing some time before the ceremony:


I just love this goofy man!


A quick pic of the happy couple saying their nuptials


And the Mr. and I with his sisters and brother in law


This group is a good time, let me tell you! :) 

It is always so great seeing family and I wish we could go up there more! Although, we ate out a LOT. Seriously, amazing food! I am talking so full you can barely walk out of the restaurant amazing food!! So maybe it is a good things we only make it up there a few times a year ;) 

 As you can see, the trip took a toll on my boys. This is them on the ride home, ha! 


Ok ok now enough about my weekend. It is time for (drum roll please) another addition of 


4th Grade Frolics is so awesome for hosting this every week! I just love getting ideas from so many creative teachers and seeing what everyone has been crafting over the week!! 
So my 1st made it is more of an "assisted made it" if you will. ;) If you have never seen my blog before, first, Welcome!! Second, as of my last "Made it Monday" this is what my blog looked like...


Veerrrrrrrry different right? The old one was simple. Kinda boring. Nothing special. 

I was so over it!

Luckily for me, I just so happen to follow this amazing teacher, blog designer, and all around great person Lindsey on Instagram! After I saw some of her work and checked out her amazing prices, I just knew I had to strike while the iron was hot!

If you are thinking about starting a blog or you have one and it needs a major facelift (like mine) you should go check out Lindsey at Blog Designs with the Teacher in Mind. I cannot say enough about how great working with her was! She is THE most affordable designer I found, every single blog design of hers looks different because they are based on exactly what the customer wants. Plus, she respond back to e-mails crazy fast which, being extremely eager about the whole blog makeover, I really appreciated! 

I am telling you, go check her out! Then come back and thank me when you are as in love with your new blog as I am with mine ;) 


Now this I made alllllllll by myself :) 

About 2 weeks ago I got these Plain Jane clipboards (that I wrote about in my Dollar Store Treasures post) and knew I wanted to decorate them! I reserved a few to glam up for my brand new team this year, but I wanted to share the one I made for myself!

*Disclaimer: I am not a planner, a measurer, or a perfectionist. When I make things, I kinda just "go for it". So, if you find yourself being slightly anal retentive when working on projects, my way of going about this may make you cringe! You have been warned ;) 

First, I picked through some papers from my old scrap booking days and found a couple I wanted to use. 

Next, I traced the outer edge of the clip board onto the scrap book paper and cut it out. I then laid the top paper under the clip and drew how wide a cut out I needed to make. Next, I took a piece of scrap paper to "measure" how deep of a cut I need to make for the clip. This is what I ended up with for the top paper: 


Because I knew my paper would not fit perfectly around the clip or outer edges, I painted the top portion and edges of my clip board.

Once the paint was dry, I went to town with some Mod Podge! (love that stuff!) Mine dries clear with a  little bit of a glossy finish but you could use the matte finish too. 

I laid the scrapbook paper down and starting from the middle, I smoothed the paper out to avoid wrinkles and bubbles. I always use some type of plastic card (in this case, a Staples gift card) to flatten it and it works just fine! 

I repeated the same process for the back and added an extra strip of scrapbook paper in the middle on both sides. Then, I put my name to the back and a cute little white, burlap "bow" over the clip on the front. Voila! 


I just love the way it came out! I can't wait to make a few more!

My last made it is about a little Meet the Teacher (yes already!) prep work.

When I pinned this adorable idea for Meet the Teacher from First Grade with a cherry on top I knew that I wanted to use it this year for meet the teacher! 


My sweet sweet husband cut out all of the tags and I tied them on to 21 little bubble bottles. Now from past experience, I know good and well that I will probably only have about 10 families (at the very most) show up for meet the teacher... but a girl can hope right! 

I also whipped up these little apples for my Meet the Teacher "Giving Tree" 

I did a couple of each item juuuuuuuuust incase I have lots of parents who want to make donations!


I still cannot believe it is almost August! I am hoping to get into my classroom this week so that I can get started and try to ease into the school year this year! 


Tuesday, July 15, 2014

Dollar Store Treasures!


The Dollar Store is a dangerous, dangerous place for teachers! You go in for one thing and you leave with 50 things! Right?? I know it is not just me! ;) 

Here are some classroom treasures I picked up on today's trip and what I plan on using them for:

I plan on using these water cannons as pointers. They extend so they are great for little people to point way up high! I got the big ones to use with my ABC line, number line, or anything else that might be slightly out of their reach. 

I will use the shorter ones for Morning Message, reading big books, etc! 

Speaking of reading, I got these "reading glasses" to add to my library collection:

I mean, how fun are these?!?! 


Sorry, I couldn't resist ;) 

Also for my little library nook, I got these cute little paper lanterns to hang (I hope the fire marshal will cooperate):
Since there are 4 maybe I will spell out READ on them. Hmmm we will see.. 

I got these smelly and glittery pens for the writing workstation: 

For small group, I got these krazy and flamingo "pointers"

And this sweet little I am busy leave me alone working with a small group, please wait your turn light:


The light certainly wasn't my idea but for anyone who hasn't seen it on Pinterest, when you are working with a small group and do not wish to be disturbed you push the light on. When you are free again you can turn the light off. In my room I encourage my students not to come up while I am working with a small group period but some little friends need an extra visual reminder. 

These shot glasses are for when Mrs. Alexander is having one of those days... JUST KIDDING ;) I plan on writing letters, numbers, etc. on them and using them on the light table. 

I got two of these bad boys:
These plastic pockets have a handy dandy magnet on the back and I will use them on my white board easel as well as my word wall, which is a white board too. I tested the strength of the magnet (because I am one of those people) on one of the metal shelves at the Dollar Tree and put several things in the pocket. I think they will do the trick :) 

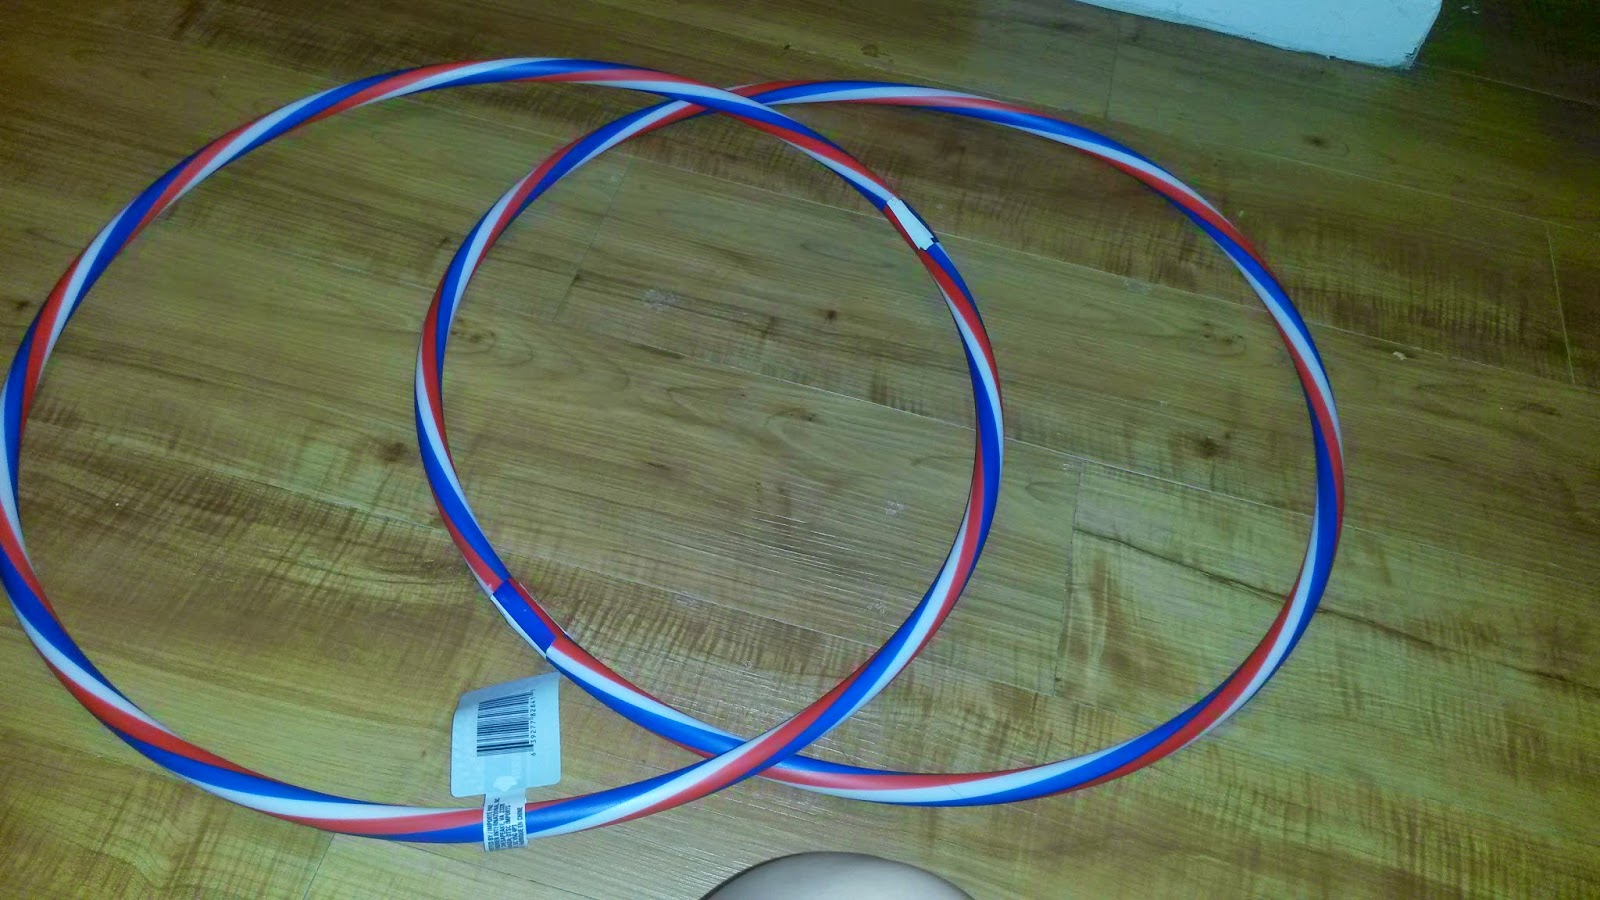
I have been using large hula hoops as for Venn Diagrams and other graphic organizers in the classroom, so when I saw these smaller ones, I could not resist
I think they will be perfect for workstations!

I also got these trays for sorting:

I also got a few clip boards for write the room activities. Although, I might decorate these plain Jane ones for my team and buy other ones for workstations.

I bought this index card holder to store all of my calendar pieces for the different months:

and these goodies are for my new "Teacher Binder" I plan to make:

I have not quite decided what I am going to use these for yet:
I am thinking I will use them for some sort of daily vote (for example: Do you have a pet?). One circle will be yes and the other no and students can move their name/picture from the rectangle cookie sheet (not pictured) to the appropriate circle. 
These cars can be used for a ton of beginning of the year activities! 

***To read more about these activities click on the picture, it will take you to the original link***

Name writing (and later sight words)

Letter Tracing (which can later be used to build CVC words)

Letter Matching (1st Upper to Uppercase than Upper to lowercase)

I am also going to use this beach ball for a letter ID game:

I bought this to hang my big A on the door (more on that later):

And these to clean up (obviously). Also, because they are too stinking cute! I LOVE the shark one!

And FINALLY **last thing I promise** I bought these:

To make these little cutties to hand out at Meet the Teacher:


PHEW! I know that was a lot but I wanted to write it allllllll down so that A) I could share it with you wonderful people and B) In a few weeks when I am setting up my classroom, I will not be like, "What the heck did I buy this for?!?" #realtalk ;)